TP7 Touch Panel Control System Quick Start Guide

Welcome!
Set up and start using your new TP7 Touch Panel Control System in no time. Use this guide to help you connect your cables, reset your password, update your firmware and more.
Table of Contents
Unbox It

- Packaging Box
- Foam Insert
- Product Information Label with Model Type
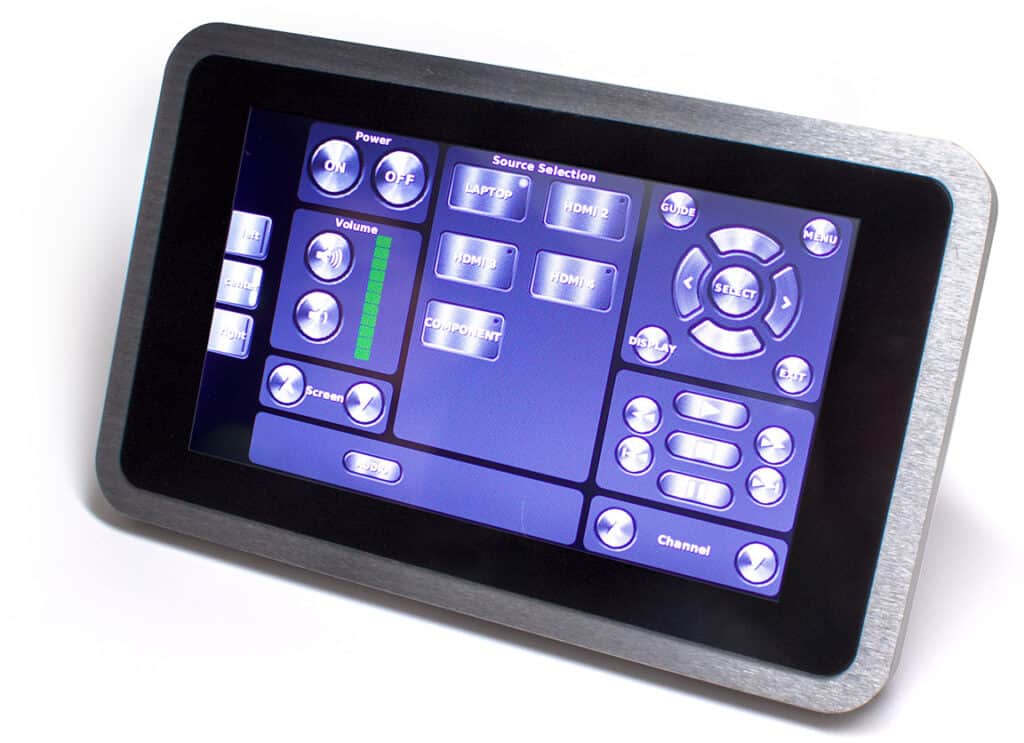
- TP7 Touch Panel Control System
- 5-Volt Power Supply (SP-TP7)
- PoE Splitter (SP-TP7-POE)
Connect It
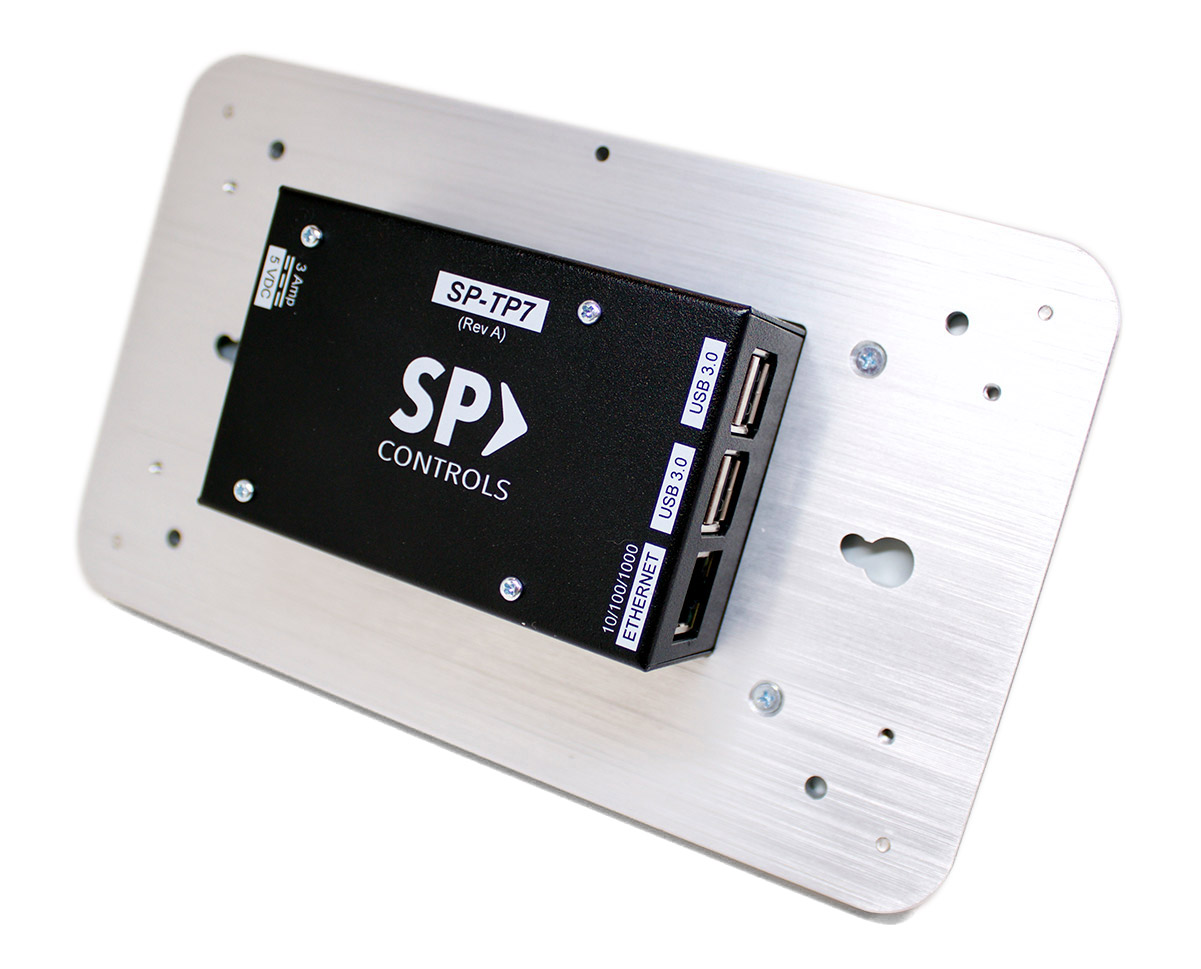
To power up your TP7:
- Use the 5-volt power supply (SP-TP7), or
- The PoE splitter (SP-TP7-POE) if you will be connecting the TP7 to a switch that can supply power over Ethernet.
See image below for details.

Setup Screen
To access the TP7 setup screen, touch and hold the four corners of the touchscreen simultaneously. This usually works best if you start with your fingers just outside the corners of the screen on the black bezel and slide them slowly inward. On the setup screen, there are five tabs: Network, NRC Setup, Updates, System, and Matrix.

Network
The TP7 will communicate with one NRC, or a number of NRCs, over Ethernet. The TP7 will need to be connected in one of two ways:
- Wired via Ethernet to a shared network with the NRC(s), or
- Wired via Ethernet directly to the NRC’s Ethernet port
When connecting the TP7 to a switch or router, the best option for this screen is to leave it blank and let the IP info be assigned automatically via DHCP. If you must use a static IP address, you will need to know what IPv4 values to enter for your network.
When connecting the Ethernet port on the TP7 directly to the Ethernet port on an NRC, if the NRC and TP7 both still have their default Network settings, they should connect automatically. If you have previously changed the TP7 from the default settings, assign it a static IP address of 192.168.1.23.
Install It
NRC Setup
If connecting to a single NRC, enter the IP address of the NRC, along with its user ID, and password, into the right pane. If you have more than one NRC you want to control, click the green + to add an NRC address to the list. If you need to delete an NRC from your list, touch that NRC in the left pane to highlight it, then click the red X. Use the black up and down arrows to change the order that the NRCs appear on the control screen.
Matrix
Use this section if you have multiple NRCs, each controlling a display, and want to control a matrix switcher as well. One of the NRCs will require the use of an RS232/IR Puck.
(PX2-PUC-232/IR) for the control port that sends commands to the switcher. All configuration for the switcher control happens on the TP7 Matrix tab. Please contact SP Controls technical support for help with this feature, if you plan to use it.
Mount It
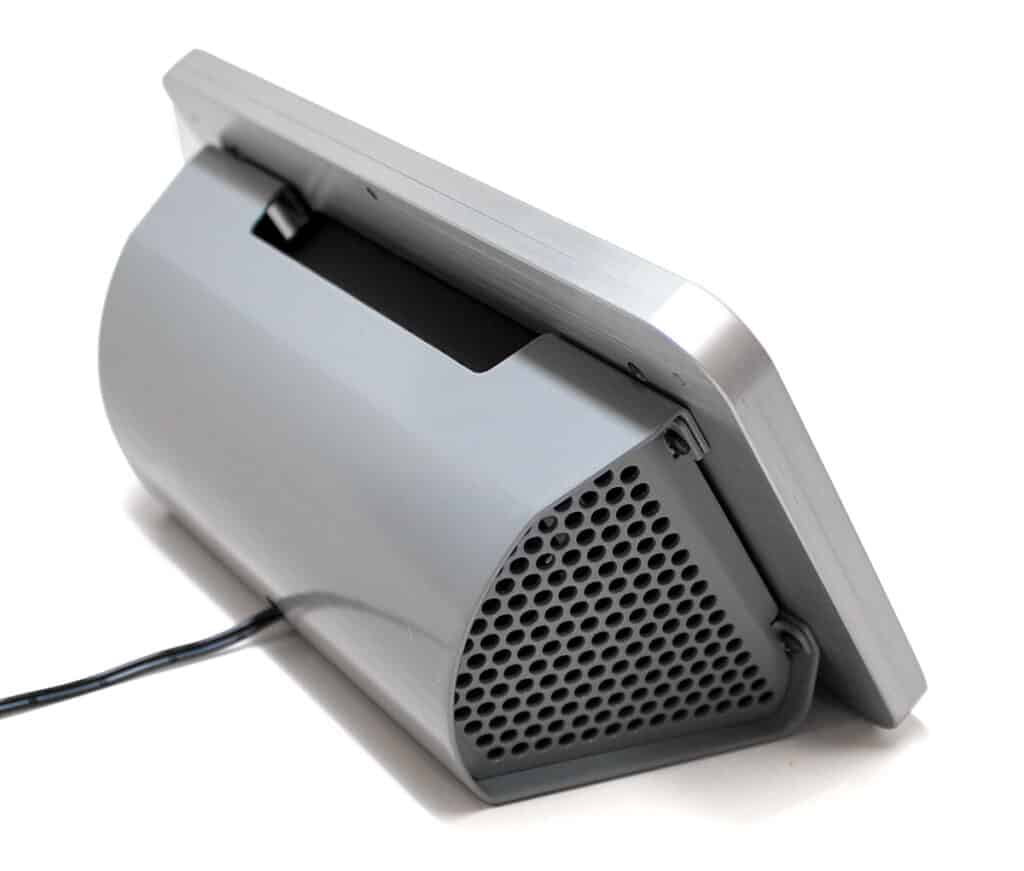
The TP7 can be used as a desktop device when mounted to the SP-TP7-DSKTP Secure Angled Tabletop Stand sold separately. Alternatively, the TP7 can be mounted directly to lecterns, tables, walls, 4-gang backboxes or mud rings using the aluminum SP-TP7-WMPRO Secure Wall Mount Plate, also sold separately. Both mounting packages come with all necessary hardware and full illustrated instructions. An appropriate mud ring also is available from SP Controls under part code PX2-MUDRING.
Update It
Connect to the Internet and check this tab frequently for bug fixes and feature updates.
System
Configure screen brightness, sleep timer, and click sounds settings here.
Please contact SP Controls technical support to assist with your initial setup of the TP7, and with any questions that you may have about the product.
Clean It
Since the advent of SARS-CoV-2, cleaning of commonly touched surfaces has become an increasing priority worldwide. To clean the surface of the TP7 Touch Panel, use a 70% isopropyl alcohol wipe to gently wipe the face of the screen. If prepared wipes are not available, apply 70% isopropyl alcohol to a clean, soft, lint-free, preferably microfiber cloth until it is damp but not saturated.
- AVOID abrasive cloths and paper towels
- AVOID excessive wiping and scrubbing, which might cause damage
- DO NOT USE aerosol sprays, window cleaners, bleach, or chlorine-based products
- DO NOT SPRAY cleaners directly onto the screen; spray on wiping cloth instead
- DO NOT get moisture into any opening
- Keep liquids away from the TP7
Information in this document is subject to change with or without notice.
© 2023 Stewart Audio™ Inc. All rights reserved.
